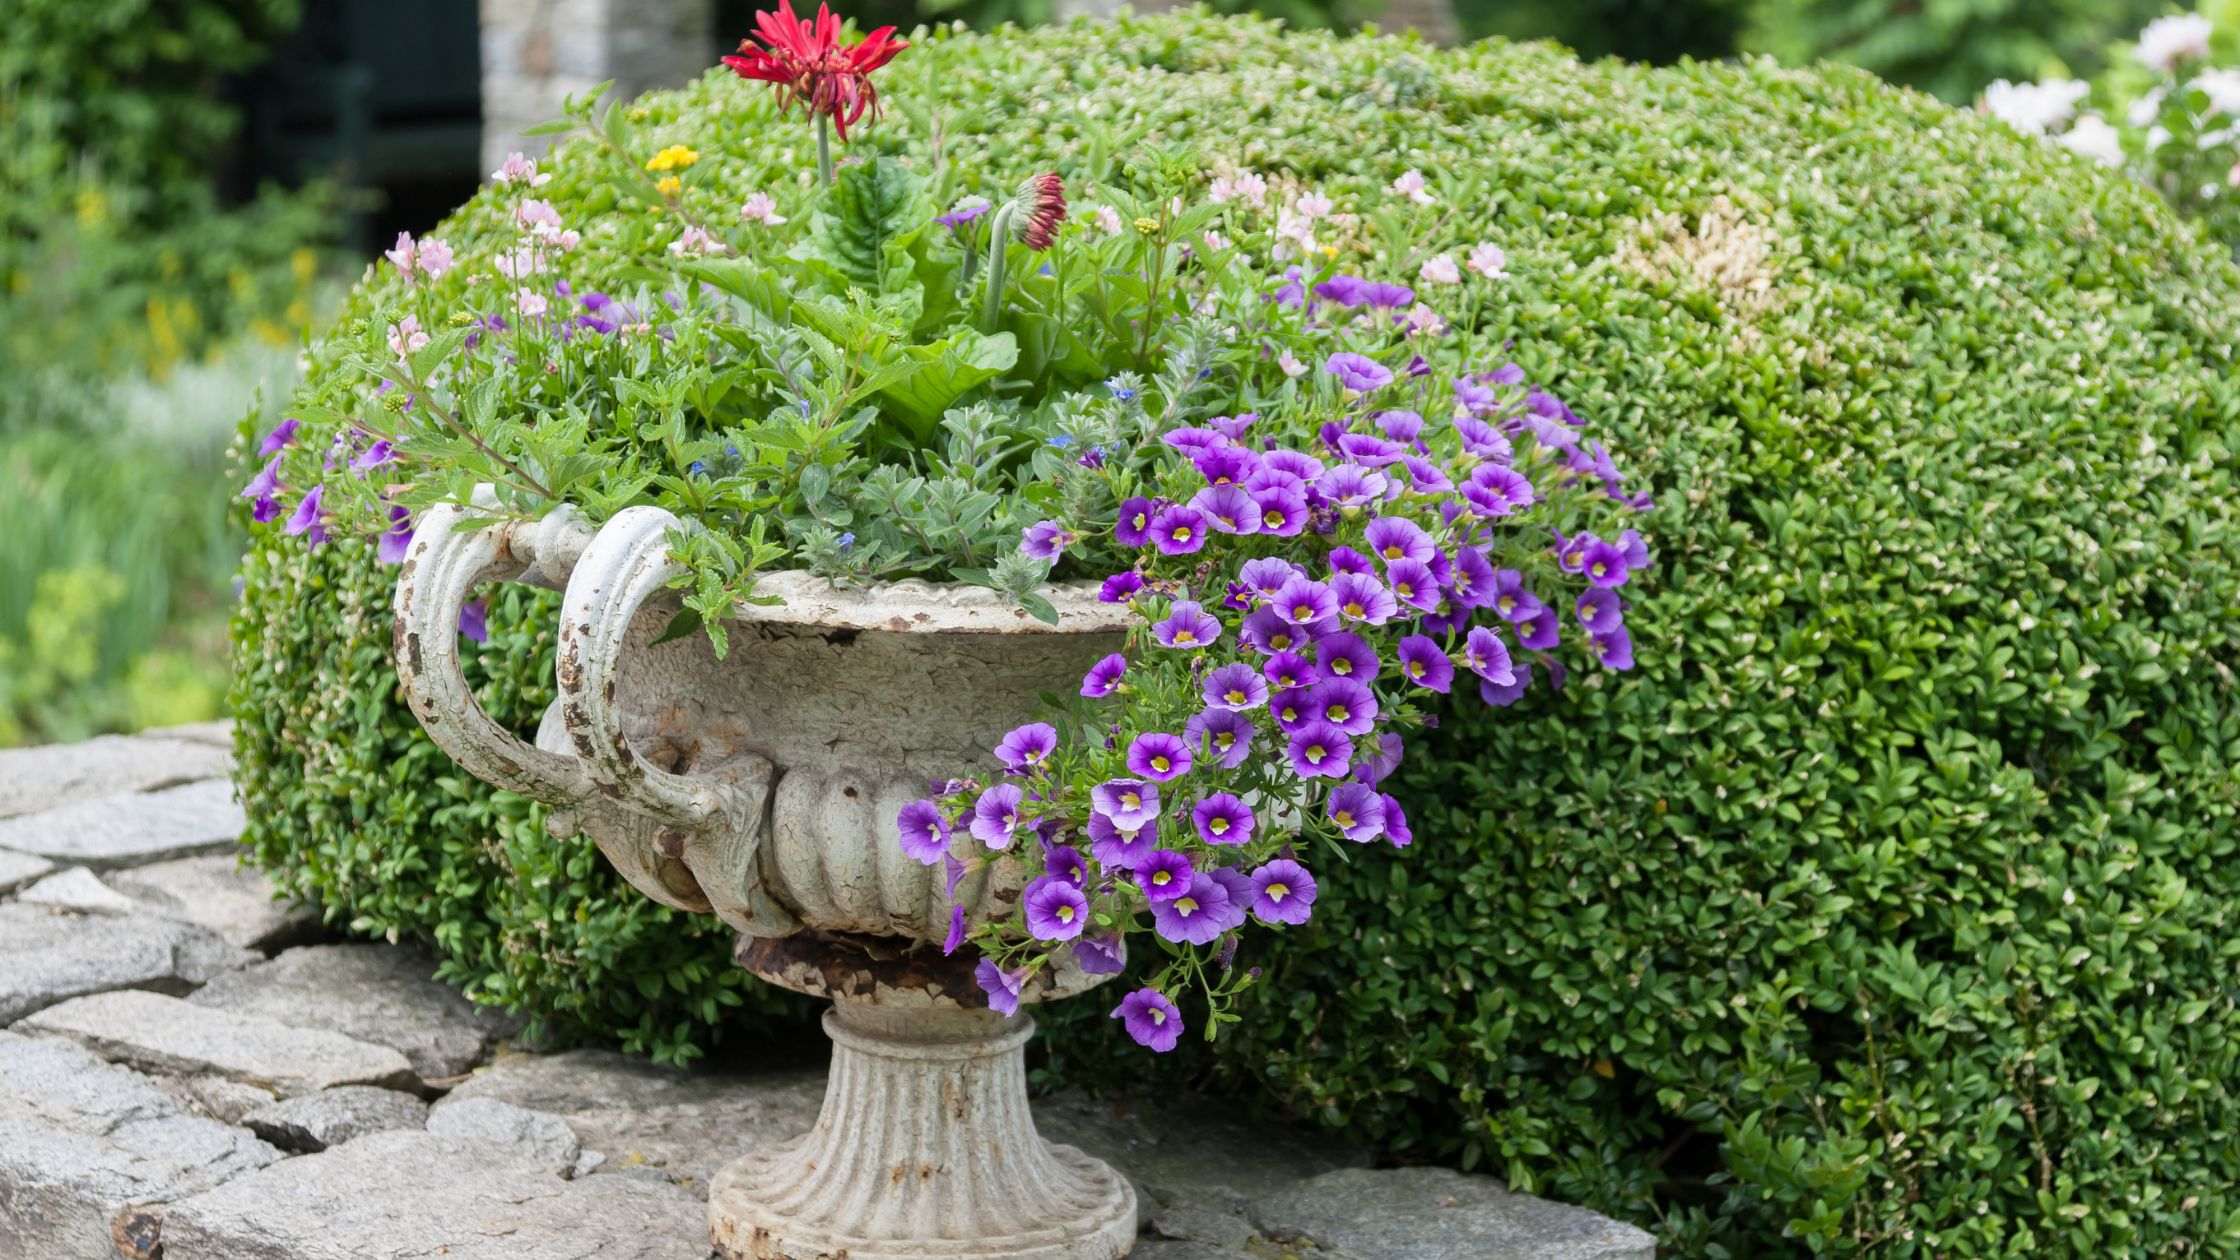
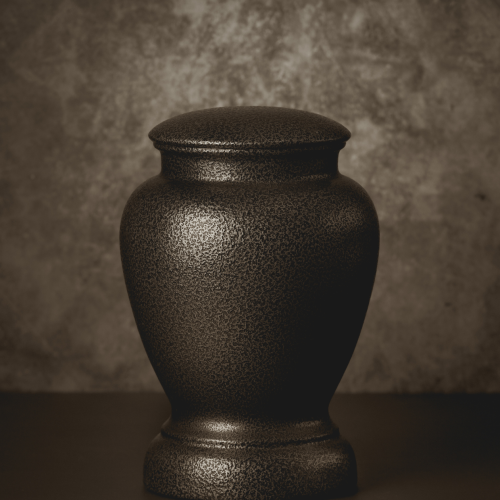
Outdoor urns are a timeless addition to gardens, patios, and porches. Their classic design and versatility make them a popular choice for showcasing plants and flowers while enhancing the overall aesthetic of your outdoor space. While store-bought urns are convenient, they can be expensive and lack the personal touch that a DIY project can provide. Crafting your own outdoor urns not only saves money but also allows you to create a custom piece that reflects your style and complements your space.
In this blog, we’ll explore the best DIY outdoor urn ideas, the materials you can use, and step-by-step instructions to bring your creations to life. With a little effort and creativity, you can transform ordinary materials into stunning planters that add charm and character to your garden.
Why DIY Outdoor Urns Worth the Effort?
Creating your own outdoor urns is a rewarding experience for several reasons. First and foremost, it allows you to express your creativity and design something unique. Unlike mass-produced urns, DIY versions can be customized to fit your specific needs, whether you’re looking for a particular size, shape, or style. This level of personalization ensures that your urns will stand out and make a statement.
DIY urns are also a budget-friendly alternative to purchasing pre-made planters. Many DIY projects can be completed using materials you already have at home or items that can be upcycled, such as old pots, buckets, or vases. By repurposing these items, you not only save money but also contribute to a more sustainable lifestyle by reducing waste.
Finally, crafting a DIY urn can be a therapeutic and enjoyable activity. It provides an opportunity to work with your hands, experiment with different materials, and create something meaningful. The satisfaction of completing a project and seeing it enhance your outdoor space is truly unparalleled.
Choosing the Right Materials for DIY Outdoor Urns
The materials you choose for your DIY outdoor urns are the foundation of your project, influencing everything from the durability and weather resistance to the overall look and feel of the finished piece. Since outdoor urns are exposed to the elements, it’s essential to select materials that can stand up to the weather while complementing your garden’s aesthetic. By carefully considering the material, you can ensure your urns are both functional and visually appealing.
Let’s take a detailed look at some popular materials for crafting outdoor urns and why they may be the perfect choice for your DIY project.
Terracotta Pots
Terracotta is a classic and timeless choice for outdoor urns. Its warm, earthy tones naturally complement lush greenery and vibrant flowers, making it a versatile option that works with virtually any garden style. Terracotta pots are often used for urns because of their elegant, traditional appeal and their availability in various sizes and shapes.
However, terracotta is a porous material, which means it can absorb moisture. While this quality helps regulate moisture for plants, it also makes the pots vulnerable to cracking in extreme weather conditions, particularly freezing temperatures. To increase the durability of terracotta urns, you can apply a waterproof sealant to the interior and exterior of the pot. This simple step can protect the material from excessive water absorption and prolong its lifespan.
Another benefit of terracotta is that it can be easily customized. You can paint the pots in vibrant colors or muted tones, stencil patterns onto the surface, or distress them for a weathered, vintage look. This allows you to tailor the design to your garden theme and personal style.
Plastic Containers
Plastic containers are an excellent option for DIY urns because they’re lightweight, affordable, and easy to work with. These versatile containers come in a variety of shapes and sizes, and with a little creativity, you can transform them to look like high-end planters. Painting plastic urns with textured spray paint can mimic the appearance of stone, ceramic, or metal, giving your DIY project a polished and expensive look without the associated cost.
One of the biggest advantages of plastic containers is their durability. High-quality, weather-resistant plastic is built to withstand the elements, including heavy rain and strong sunlight, without cracking or fading. This makes them ideal for gardens in regions with fluctuating weather conditions.
Additionally, plastic containers are lightweight, which makes them easy to move around your garden or patio. This is particularly useful if you like to rearrange your outdoor decor or bring your urns indoors during extreme weather. To ensure stability, you can weigh down plastic urns by adding a layer of rocks or sand at the bottom before filling them with soil and plants.
Concrete
For those seeking a more permanent and durable solution, concrete is an outstanding material for DIY outdoor urns. Concrete’s strength and resilience make it capable of withstanding even the harshest weather conditions, from heavy rain to intense sunlight. It’s an ideal choice for gardens where the urns will be exposed year-round.
Concrete urns offer a modern, industrial aesthetic that pairs beautifully with contemporary garden designs. They can also be molded into various shapes and sizes, allowing for highly customized creations. Using molds such as plastic buckets, bowls, or specialized forms, you can create intricate designs, including fluted edges or detailed patterns. Once the concrete has been set and cured, you can further enhance the look by staining it, painting it, or embedding decorative elements like tiles or stones.
Working with concrete requires a bit of patience and preparation. You’ll need to mix the concrete, pour it into the mold, and allow it to cure for several days. While the process may take some time, the end result is a heavy, durable urn that will last for years. Concrete urns are also low-maintenance, requiring little more than an occasional wipe-down to remove dirt or moss.
Metal Buckets or Pails
Metal containers, such as galvanized buckets, antique pails, or even old wash tubs, bring a rustic charm to your outdoor space. Their rugged, industrial look makes them a perfect fit for farmhouses, cottages, or vintage-style gardens. Metal urns are durable and can withstand various weather conditions, provided they are properly maintained.
One common challenge with metal urns is rust, especially in regions with high humidity or frequent rainfall. To prevent rusting, you can line the inside of the container with a plastic liner or apply a rust-proof coating to the exterior. Clear rust-proof sprays are widely available and can be reapplied periodically to extend the life of your metal urn.
Metal urns are also highly customizable. You can leave them as-is for a minimalist, industrial look, or you can paint them in bold colors to add a playful touch to your garden. For a more decorative effect, consider adding rope handles, vintage labels, or stenciled patterns.
Upcycled Items
Upcycling is one of the most creative and sustainable ways to make DIY outdoor urns. By repurposing old or discarded items, you can give them a new life while creating a planter that’s truly one-of-a-kind. The possibilities for upcycled urns are virtually endless and only limited by your imagination.
For example, an old ceramic vase can be transformed into an elegant urn with a fresh coat of paint or glaze. A wooden crate can be sanded, stained, and lined with a plastic insert to create a rustic planter. Even unexpected items like a discarded lamp base or an unused fishbowl can be reimagined as unique outdoor urns.
Upcycling not only saves money but also reduces waste, making it an eco-friendly choice for your garden projects. It’s also a wonderful way to incorporate sentimental items into your outdoor decor. For instance, using a family heirloom or a vintage piece you found at a thrift store can add a layer of personal history and meaning to your DIY urn.
Detailed DIY Outdoor Urn Ideas
Stacking terracotta pots is a simple and elegant way to create a tiered outdoor urn. Begin with a large, sturdy pot as the base and stack progressively smaller pots on top, securing each layer with construction adhesive. This design adds height and visual interest to your garden, making it an ideal choice for planting cascading flowers like petunias, ivy, or ferns. To customize your urn, you can paint the pots in coordinating colors or add stenciled patterns for a decorative touch.
Creating a concrete urn might sound intimidating, but it’s easier than you think with the right tools and a bit of patience. To make a concrete urn, you’ll need a mold—this can be a plastic bowl, bucket, or any container that suits your desired shape. Mix the concrete according to the instructions and pour it into the mold, ensuring even distribution. Once the concrete sets and hardens, remove it from the mold and sand any rough edges. For added flair, you can dye the concrete with pigments or embellish it with mosaic tiles.
Half-barrels or wooden crates can be repurposed into charming outdoor urns. Sand the wood to remove splinters and apply a weatherproof sealant to protect it from the elements. Fill the barrel with soil and plants of your choice, and consider adding a layer of pebbles or mulch on top for a polished look. Wooden barrels work particularly well in rustic or farmhouse-style gardens, and their large size makes them ideal for planting small trees or shrubs.
If you’re looking for a budget-friendly option, transforming a plastic container into an elegant urn is a great solution. Start by choosing a sturdy plastic pot or bucket and cleaning it thoroughly. Apply a coat of spray paint in a finish that mimics stone, metal, or ceramic. You can also add texture by using a sponge to dab on layers of paint for a weathered effect. Once the paint dries, your plastic urn will look like a high-end planter at a fraction of the cost.
Adding Finishing Touches to Your DIY Urns
The beauty of a DIY outdoor urn lies in the details. Adding finishing touches can elevate your project and make it truly unique. Here are some ideas to enhance your urns:
- Lighting: Install solar-powered lights or small LED string lights around the urn to create a magical ambiance in the evenings.
- Plant Selection: Choose plants that complement the style of your urn. For a classic look, consider boxwoods or roses. For a whimsical touch, opt for colorful blooms or cascading vines.
- Decorative Elements: Incorporate embellishments like metal handles, rope accents, or decorative tiles to give your urn a personalized look.
Caring for Your DIY Outdoor Urns
Once your DIY urns are complete, proper maintenance is essential to keep them looking their best. Regularly clean the exterior to remove dirt and debris, and check for signs of wear or damage. If your urn is made from materials like wood or metal, reapply sealants or protective coatings as needed to prevent weather-related deterioration.
Additionally, ensure proper drainage to protect your plants. Drill drainage holes in the bottom of the urn if they aren’t already present, and use a layer of gravel or pebbles to promote water flow and prevent root rot.
Conclusion:
DIY outdoor urns are a wonderful way to enhance your garden while adding a personal touch to your decor. By choosing materials and designs that reflect your style, you can create planters that are as functional as they are beautiful. Whether you’re stacking terracotta pots, molding concrete, or upcycling old items, the possibilities are endless.
Not only do DIY urns save money, but they also provide a rewarding project that lets you connect with your creative side. Once complete, your handcrafted urns will serve as a proud centerpiece in your outdoor space, showcasing your plants and bringing life to your garden. So gather your materials, roll up your sleeves, and start crafting a DIY urn that’s uniquely yours!

