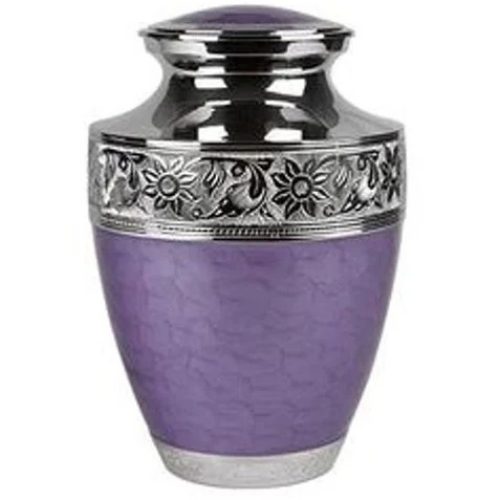
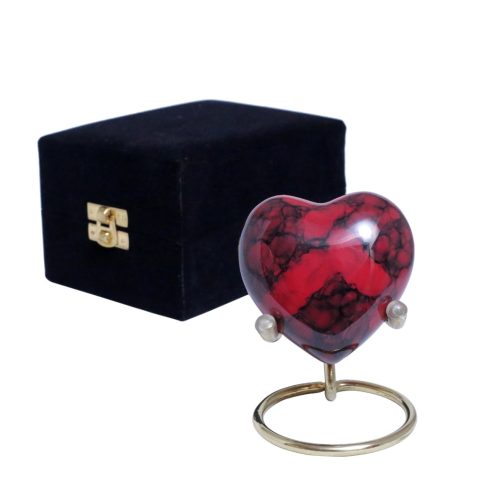
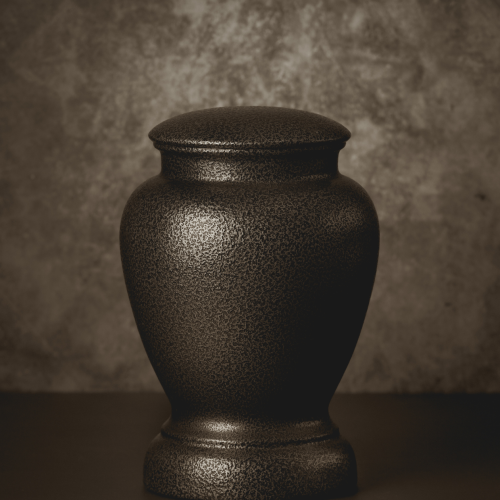
Creating a dedicated space to honor a loved one is a deeply personal and meaningful project. For many, this means finding a special place to display a keepsake urn—a symbol of the life and memories shared. While there are plenty of ready-made urn storage options available, building a DIY keepsake urn storage shelf adds a personal touch to this sacred space. It’s not just about the shelf itself; it’s about crafting something unique, a reflection of your love and care.
If you’re wondering where to start or how to bring this idea to life, this blog is here to guide you through the process. We’ll explore step-by-step instructions for creating a beautiful and functional keepsake urn shelf, tips for customization, and how to design a space that brings comfort and peace.
Why Build a DIY Keepsake Urn Storage Shelf?
There’s something special about creating a memorial space with your own hands. A DIY keepsake urn storage shelf allows you to craft something that reflects your loved one’s personality and your cherished memories with them. Unlike store-bought options, a DIY shelf gives you complete creative control over the size, shape, materials, and design, making it truly one-of-a-kind.
Additionally, building the shelf yourself can be a therapeutic process. It provides an opportunity to channel your emotions into something tangible, helping you work through grief in a constructive way. Every step—measuring, cutting, sanding, and assembling—becomes a part of the tribute you’re creating. The finished product isn’t just a shelf; it’s a labor of love and a permanent reminder of the bond you shared.
Planning Your DIY Keepsake Urn Storage Shelf
Before you start gathering tools and materials, take some time to plan your project. A well-thought-out plan ensures that the shelf meets your needs and fits seamlessly into the space you’ve chosen for it.
1. Decide on the Location
The first step is determining where the shelf will go. Are you creating a standalone display for the urn, or will it be part of a larger memorial space with photos, candles, and keepsakes? Consider whether the shelf will be mounted on a wall, placed on a table, or set within a dedicated niche. The location will influence the size, design, and materials you choose.
2. Measure and Choose Dimensions
Once you’ve decided on the location, measure the available space to determine the dimensions of the shelf. Keep in mind that the shelf should be slightly larger than the urn itself, allowing room for other items like photographs, flowers, or small keepsakes. If you’re displaying multiple urns or keepsakes, consider creating a tiered or multi-level design to maximize space.
3. Choose a Design Style
The style of your shelf should reflect your loved one’s personality and the overall aesthetic of your home. Whether you prefer a minimalist design with clean lines, a rustic wooden shelf with a natural finish, or an ornate piece with decorative accents, the style you choose will set the tone for the memorial space.
Materials and Tools You’ll Need
Building a DIY keepsake urn storage shelf doesn’t require advanced woodworking skills or expensive materials. Here’s a list of the basic supplies you’ll need:
Materials:
- Wooden board (cut to size)
- Sandpaper (medium and fine grit)
- Wood glue or screws
- Wall brackets (if mounting the shelf)
- Wood stain, paint, or varnish (optional)
- Decorative elements (trim, carvings, or engravings)
Tools:
- Measuring tape
- Saw (hand saw or circular saw)
- Drill and screwdriver
- Paintbrush or cloth (for staining/painting)
- Level (for ensuring the shelf is even)
If you’re new to DIY projects, don’t worry—many hardware stores will cut the wood to your specified dimensions, making the process even easier.
Step-by-Step Guide to Building Your Keepsake Urn Storage Shelf
Step 1: Prepare the Wood
Start by preparing the wooden board that will serve as the base of your shelf. Sand the surface and edges with medium-grit sandpaper to remove any rough spots, then follow up with fine-grit sandpaper for a smooth finish. This step ensures that the shelf looks polished and is safe to handle.
If you’re adding decorative trim or carvings, now is the time to attach or carve them. Use wood glue or small nails to secure trim pieces and allow them to dry completely.
Step 2: Customize with Stain or Paint
Once the wood is prepped, customize it with your chosen stain, paint, or varnish. A wood stain can enhance the natural grain and give the shelf a rustic or elegant look, while paint allows for more color variety to match your decor. Apply the finish with a brush or cloth, following the grain of the wood, and let it dry completely before proceeding.
For a personalized touch, consider stenciling a meaningful quote or engraving a name or date onto the shelf. This detail can make the memorial even more special.
Step 3: Assemble the Shelf
If your design includes multiple levels or additional pieces, assemble them using screws or wood glue. Use a level to ensure that each section is perfectly aligned. Tighten all screws securely and allow any glue to dry before moving on to installation.
Step 4: Install Wall Brackets (If Applicable)
For wall-mounted shelves, attach sturdy brackets to the underside of the shelf. Position the brackets near the edges for maximum support, and make sure they’re evenly spaced. If you’re installing the shelf on a wall, use a drill to attach the brackets to wall studs for stability. Double-check that the shelf is level before securing it in place.
Step 5: Decorate and Arrange
Once the shelf is assembled and installed, it’s time to decorate and arrange the space. Place the urn at the center of the shelf as the focal point, then add complementary items like framed photographs, candles, flowers, or keepsakes. Keep the arrangement simple and uncluttered to maintain a sense of calm and serenity.
Customizing Your Keepsake Shelf
One of the greatest joys of building a DIY keepsake urn storage shelf is the ability to personalize it in a way that reflects your loved one’s personality, values, and the memories you cherish. Customizing the shelf adds a deeper layer of meaning, transforming it into more than just a piece of furniture—it becomes a heartfelt tribute. With thoughtful additions and creative design elements, you can make the shelf truly unique and special.
Incorporate Lighting
Lighting can dramatically enhance the ambiance of your keepsake shelf, making it feel warm, inviting, and serene. Adding soft LED lights or fairy lights can create a gentle glow around the memorial, highlighting the urn and any accompanying keepsakes. This subtle illumination draws attention to the shelf, turning it into a focal point within the room while also evoking a sense of peace.
Consider using string lights with warm tones or small battery-operated LED candles to avoid harsh lighting. These options are easy to install and create a calming effect. If you’re mounting the shelf on a wall, you could even incorporate a small overhead spotlight or install recessed lighting for a more polished look. For an extra touch of personalization, choose lights in colors that hold special significance, such as your loved one’s favorite shade or a hue that symbolizes peace and comfort.
Add Personal Mementos
A keepsake shelf is more than a place to display an urn—it’s a space to celebrate the life and legacy of your loved one. Adding small compartments or additional shelves to the design allows you to include personal mementos that hold sentimental value. Items like pieces of jewelry they frequently wore, letters they wrote, or cherished photographs can turn the shelf into a deeply meaningful memorial.
You could also include objects that represent your loved one’s passions or hobbies. For example, if they love gardening, you might place a small potted plant or gardening tool on the shelf. If they were an artist, you could display a paintbrush or a small piece of their work. These mementos tell the story of their life and create a multi-dimensional tribute that feels personal and heartfelt.
Use Decorative Backdrops
A backdrop can add depth and character to your keepsake shelf, framing the space and elevating its visual appeal. If your shelf is mounted on a wall, consider using wallpaper, fabric, or even a painted design as a backdrop. Choose patterns or colors that evoke positive memories or reflect your loved one’s personality. For example, floral wallpaper might remind you of your favorite garden, while a soft, pastel-painted backdrop can create a serene atmosphere.
Alternatively, you could create a gallery-style backdrop by hanging framed photos, meaningful quotes, or artwork directly behind the shelf. This adds a layer of personalization and makes the entire space feel cohesive. For a modern touch, consider a simple wooden or metal frame around the shelf to define the space while keeping the design clean and elegant.
Creating a Space of Comfort and Reflection
Your DIY keepsake urn storage shelf is more than just a place to display items—it’s a sacred space for reflection, comfort, and remembrance. By dedicating a portion of your home to honoring your loved one, you’re creating an environment that invites peace and healing. This space becomes a haven where you can connect with their memory, celebrate their life, and find solace during moments of grief.
Take time to design the shelf and the surrounding area in a way that fosters a sense of calm and tranquility. Incorporating elements like soft lighting, candles, or a comfortable chair nearby can encourage moments of quiet reflection. Sitting in this space allows you to revisit cherished memories and feel a sense of closeness to your loved one. You might choose to light a candle near the shelf on special occasions such as birthdays, anniversaries, or holidays as a way to honor their memory. These small rituals can provide comfort and help you feel connected, even in their absence. Surrounding the shelf with items like fresh flowers or favorite books can also create a welcoming and soothing atmosphere.
Building and decorating the shelf can be a meaningful experience for the entire family. Involving loved ones in the project allows everyone to contribute their ideas and memories, making the process collaborative and healing. For example, children might help paint the shelf or choose mementos to display, while others might suggest quotes or items that hold personal significance. This shared activity not only strengthens family bonds but also provides an opportunity to share stories and reminisce about your loved one’s life. The act of creating something together can be a therapeutic way to process grief and celebrate the positive impact your loved one had on everyone’s lives.
The space you create with the keepsake shelf is more than a temporary tribute—it’s a lasting memorial that will continue to bring comfort for years to come. Over time, this space may evolve as you add new mementos or update the decor, but its purpose will remain the same: to honor your loved one and keep their memory alive. Whether you sit near the shelf daily or visit it on special occasions, it will serve as a constant reminder of the love and connection you shared.
By dedicating this area of your home to remembrance, you’re ensuring that your loved one’s legacy remains an integral part of your life. It’s a space that provides not only comfort but also an opportunity to celebrate their spirit and the enduring bond you share.
Conclusion: A Labor of Love
Building a DIY keepsake urn storage shelf is more than just a craft project—it’s a way to honor your loved one in a deeply personal and meaningful way. By creating a space that reflects their personality and your cherished memories, you’re ensuring that their legacy lives on in a tangible, beautiful form.
From choosing the right materials to adding personalized touches, every step of the process becomes part of the tribute. And when the project is complete, you’ll have not just a shelf, but a sacred space that brings comfort, peace, and a sense of connection. A DIY keepsake urn shelf is truly a labor of love, and its value goes far beyond the materials used to create it. It’s a heartfelt way to celebrate life and keep memories alive.